Build a GeoCities Simulation app with Langbase and Netlify
In this guide, we’ll walk you through how to create a GeoSimCities AI agent pipe on Langbase created by Mathias Biilmann (co-founder and CEO of Netlify) so that you can quickly create a fully functional GeoCities-inspired website with AI.
Before you dive into creating your own GeoCities-style page, make sure you follow these steps:
- Sign up on Langbase.
- Create your Netlify account.
- Install Sourcegraph’s Cody extension in your code editor to assist you in writing the code.
GeoSimCities is your custom-built AI agent as an API (pipe) that mimics the classic look and feel of a GeoCities website. It uses AI to generate HTML, CSS and JavaScript to build web pages with retro design.
Let’s take a look at how you can quickly setup the AI infra part of the GeoCities app.
STEP 1: Create an AI agent Pipe
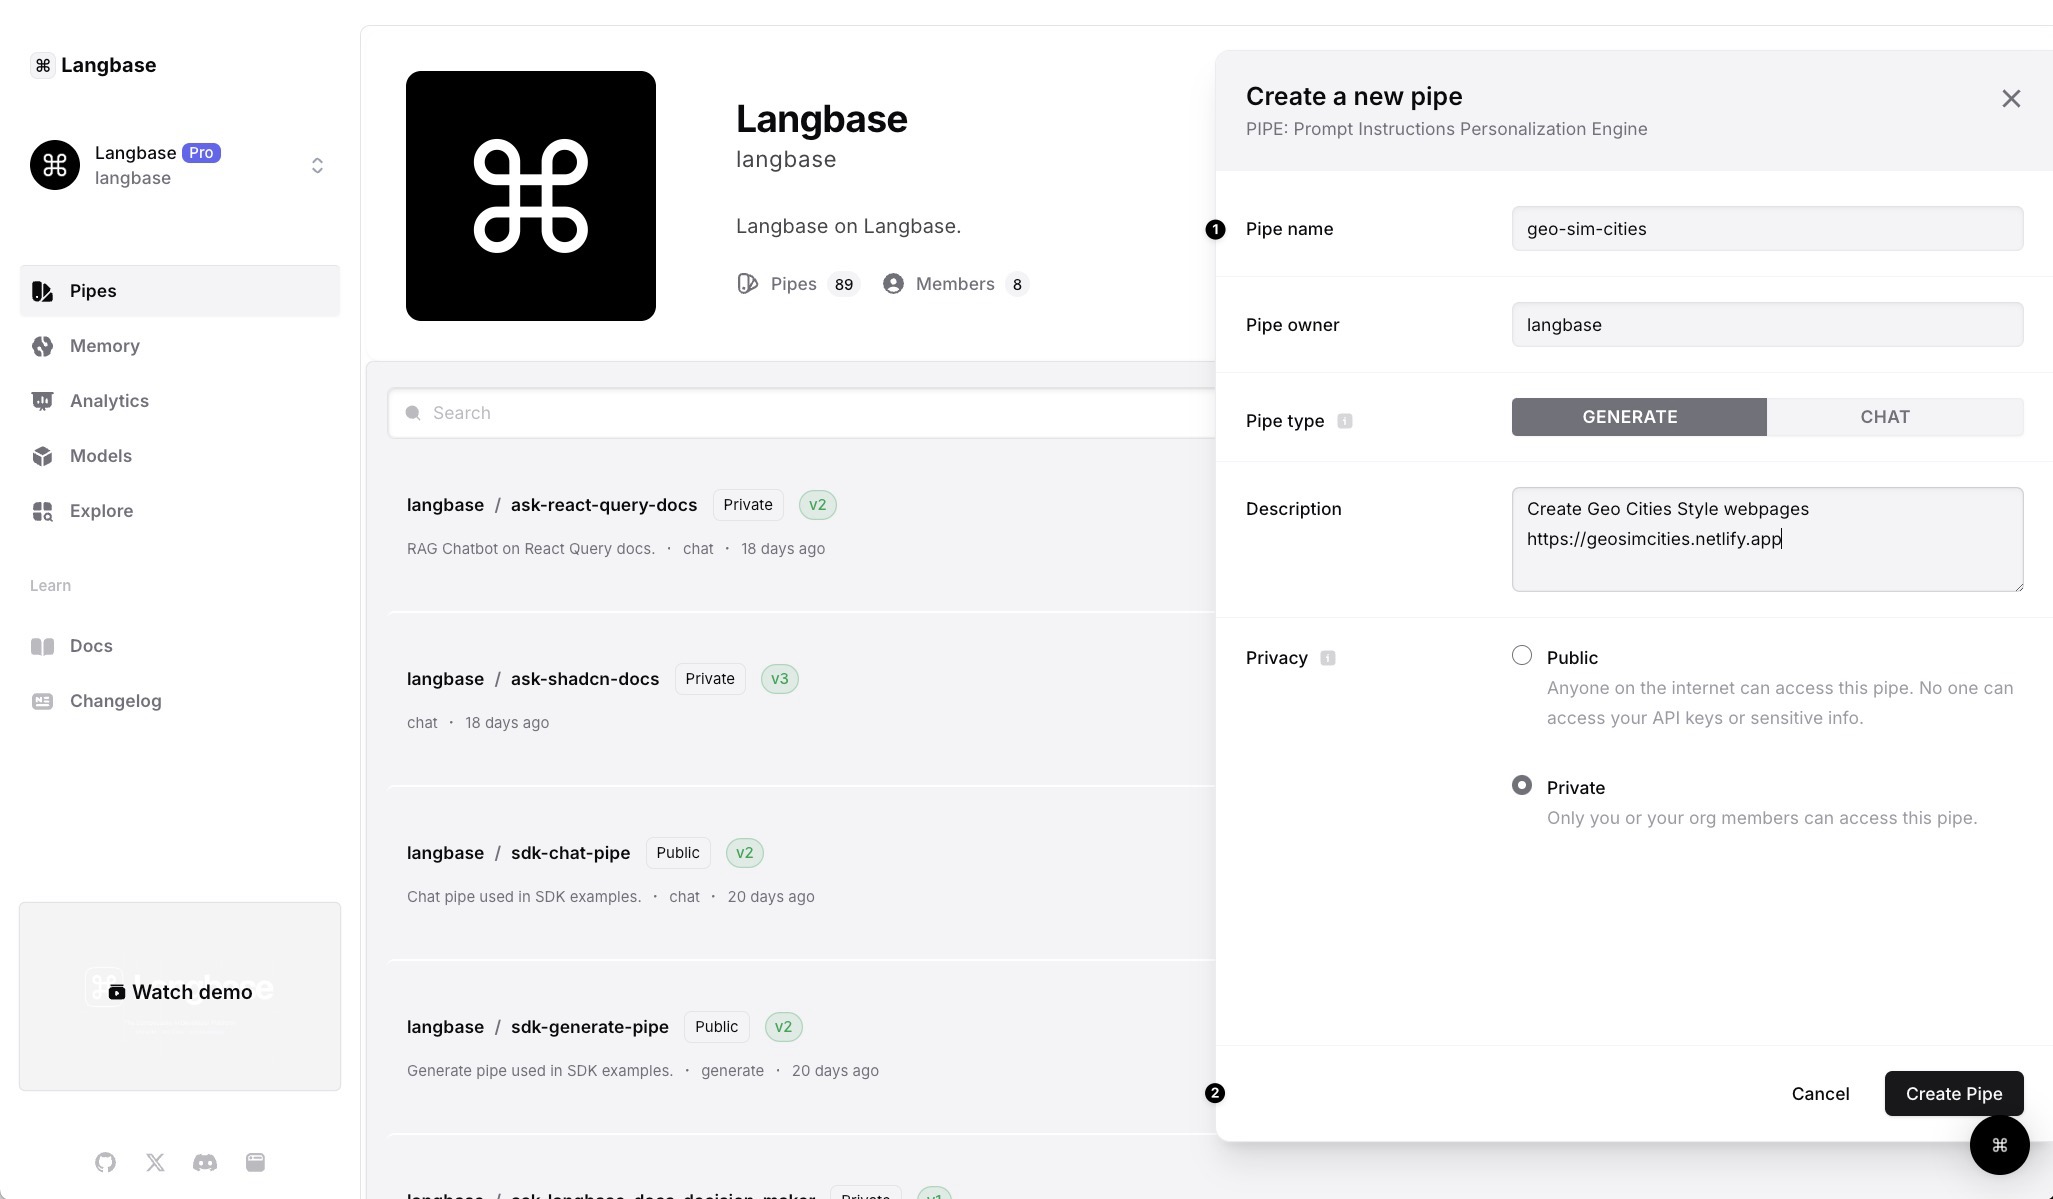
- You can always go to pipe.new to create a new pipe.
- Give your pipe a name and description. Let’s call it GeoSimCities. Finally when you are done, click on Create Pipe. This will create a new AI agent pipe and also open it in your browser.
STEP 2: Configure the LLM Model
Langbase supports a wide range of the latest Large Language Models (LLMs) from different providers. You can configure your pipe with any of the 30+ LLMs from OpenAI, Gemini, Mistral, Llama, Gemma, etc, connect any memory (data) to it and then finally integrate it in any language or framework via native API
- Go to the Pipe tab: Navigate to the pipe tab where you can configure pipe LLM.
- Select Your LLM Provider and Model: You can switch to OpenAI, Llama, Mistral, or any other LLM provider and model you prefer.
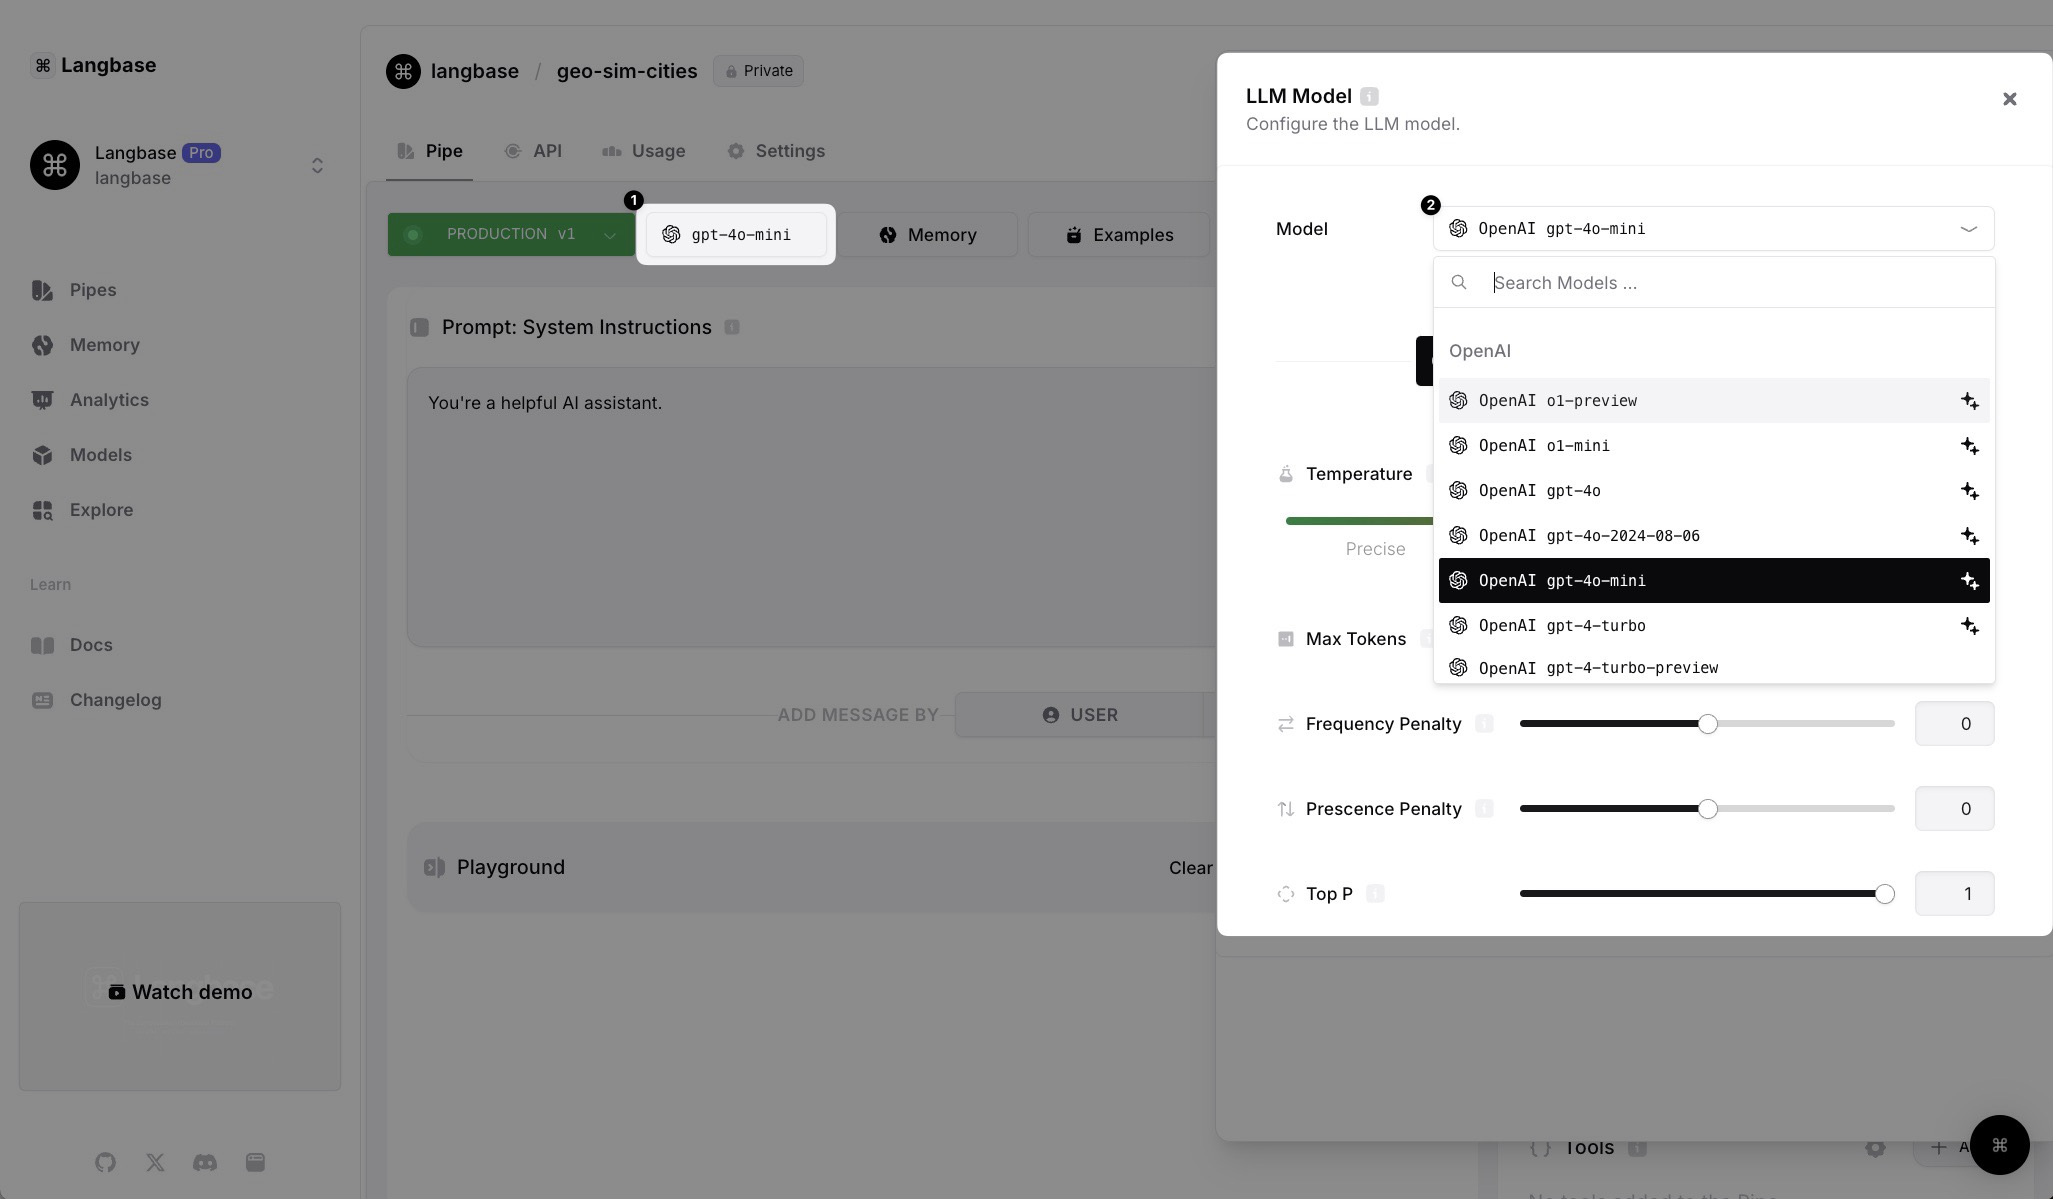
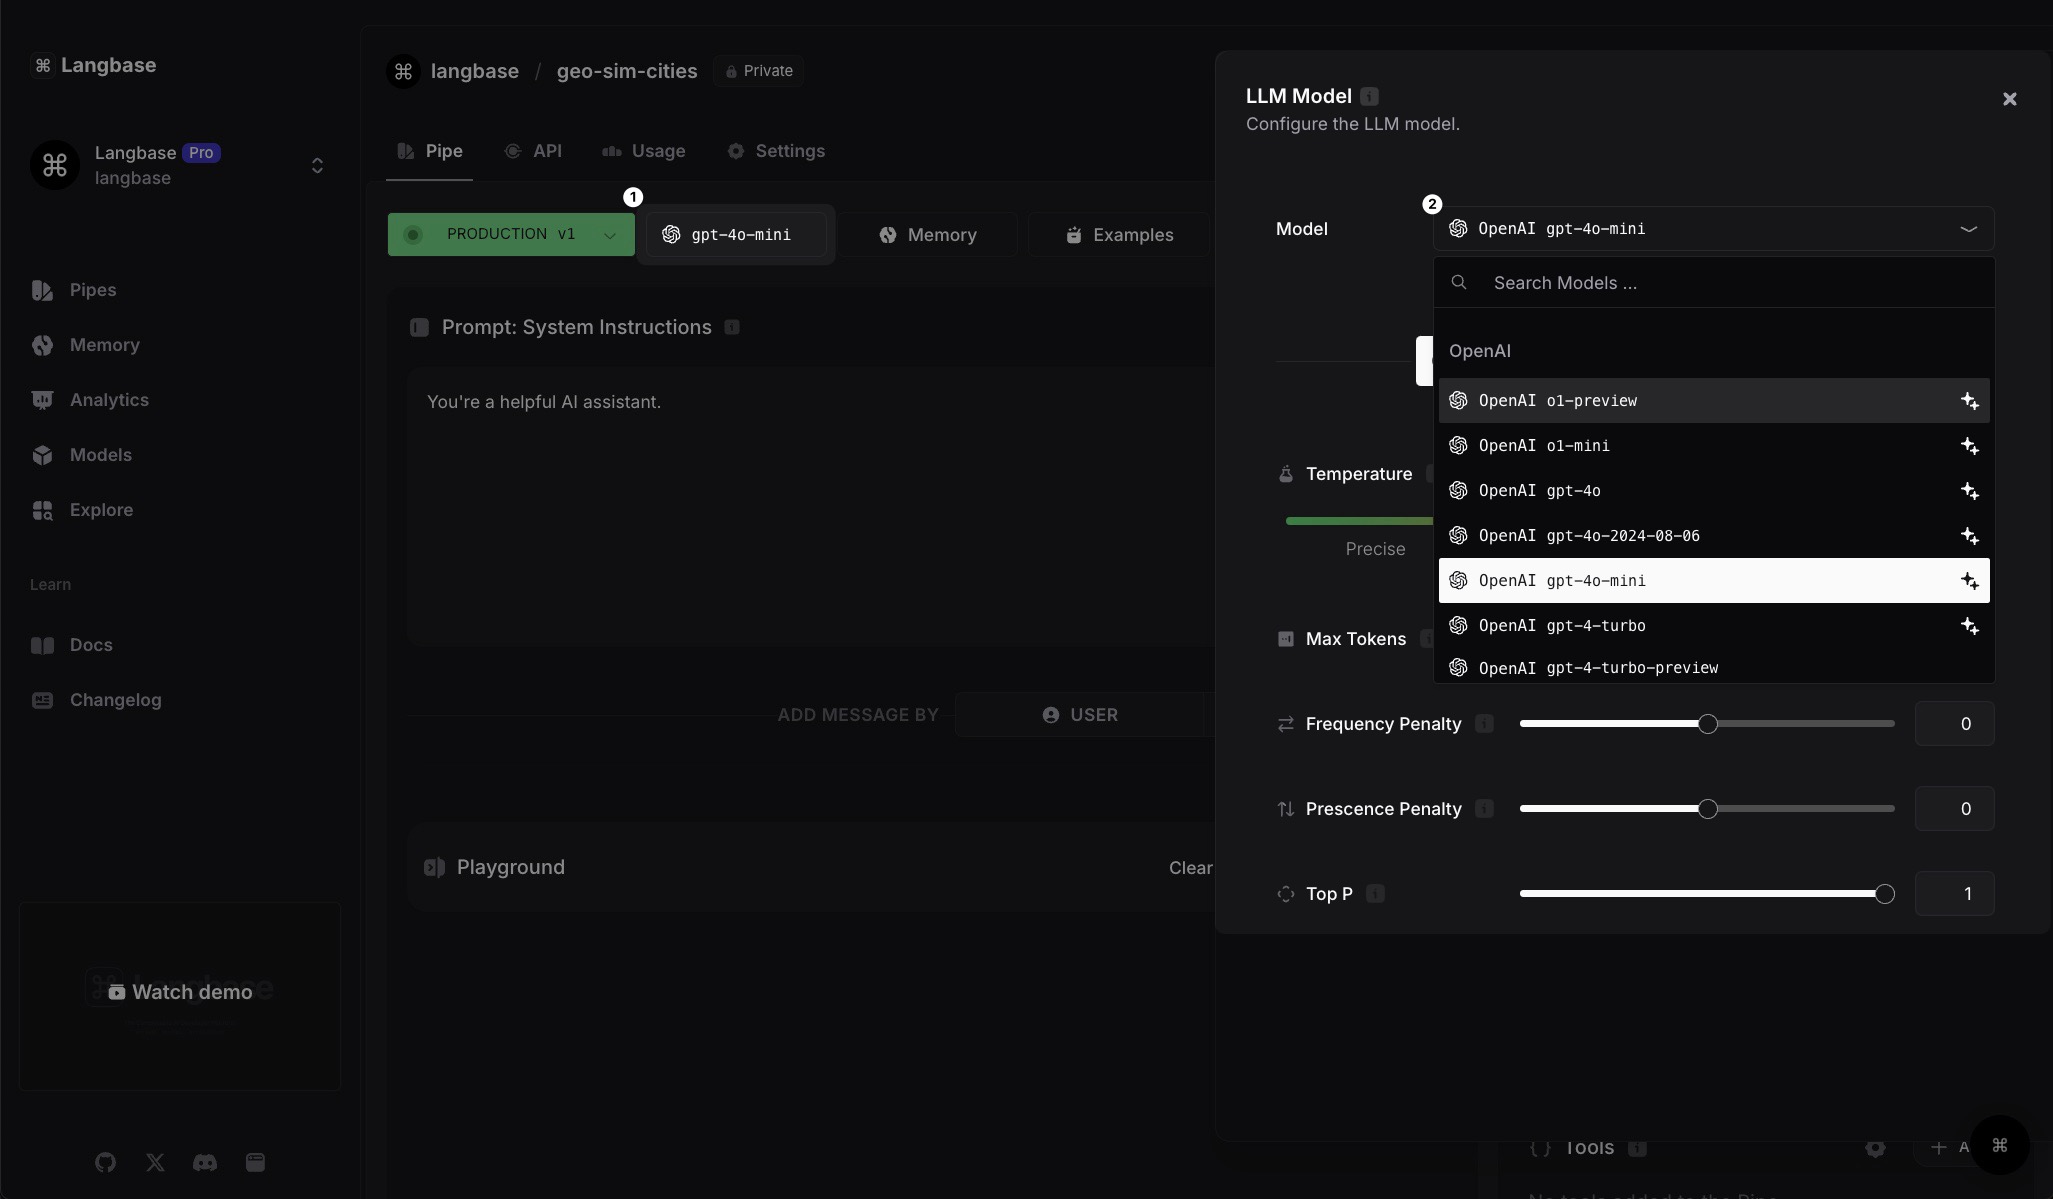
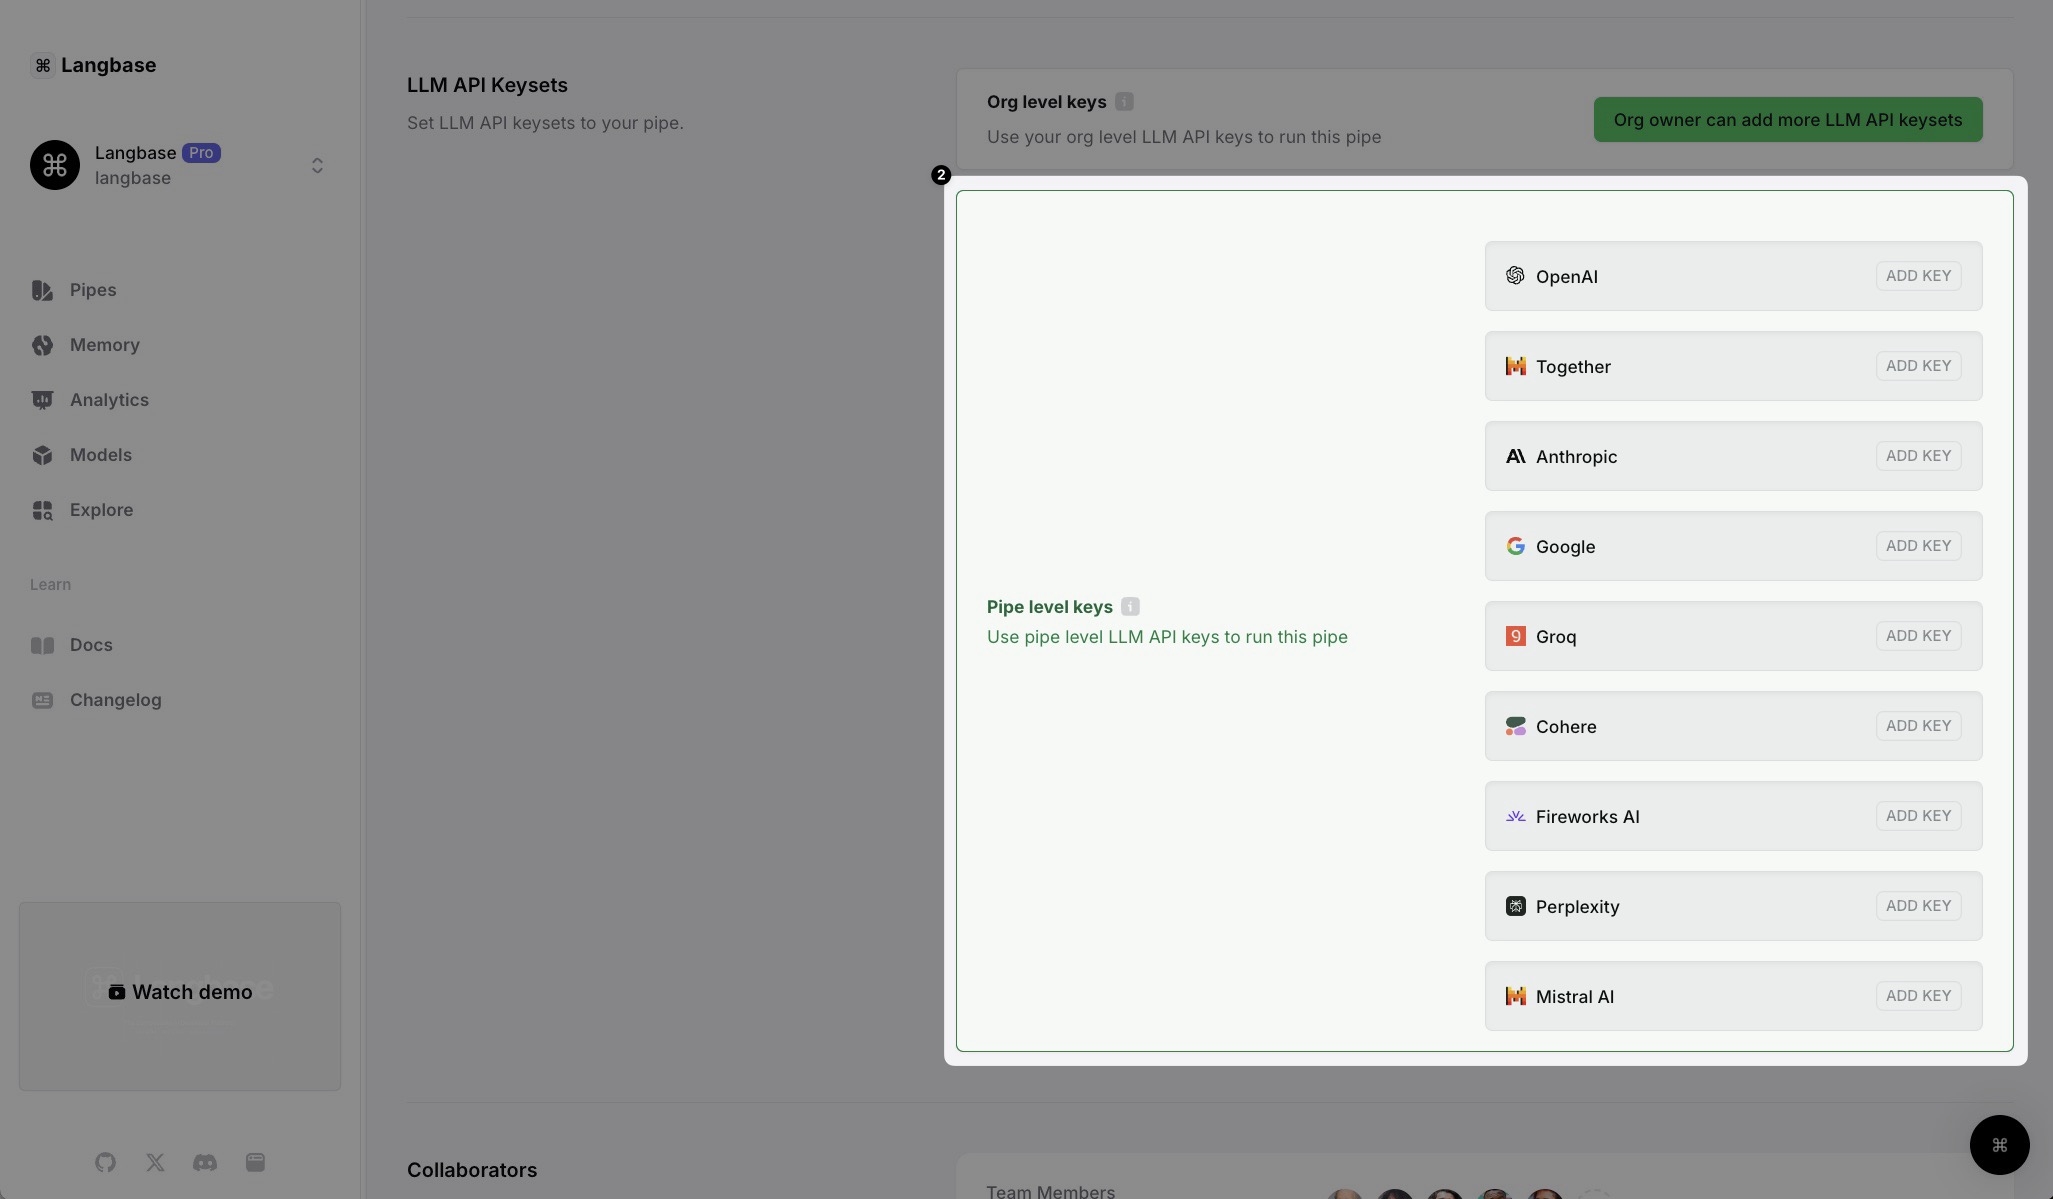
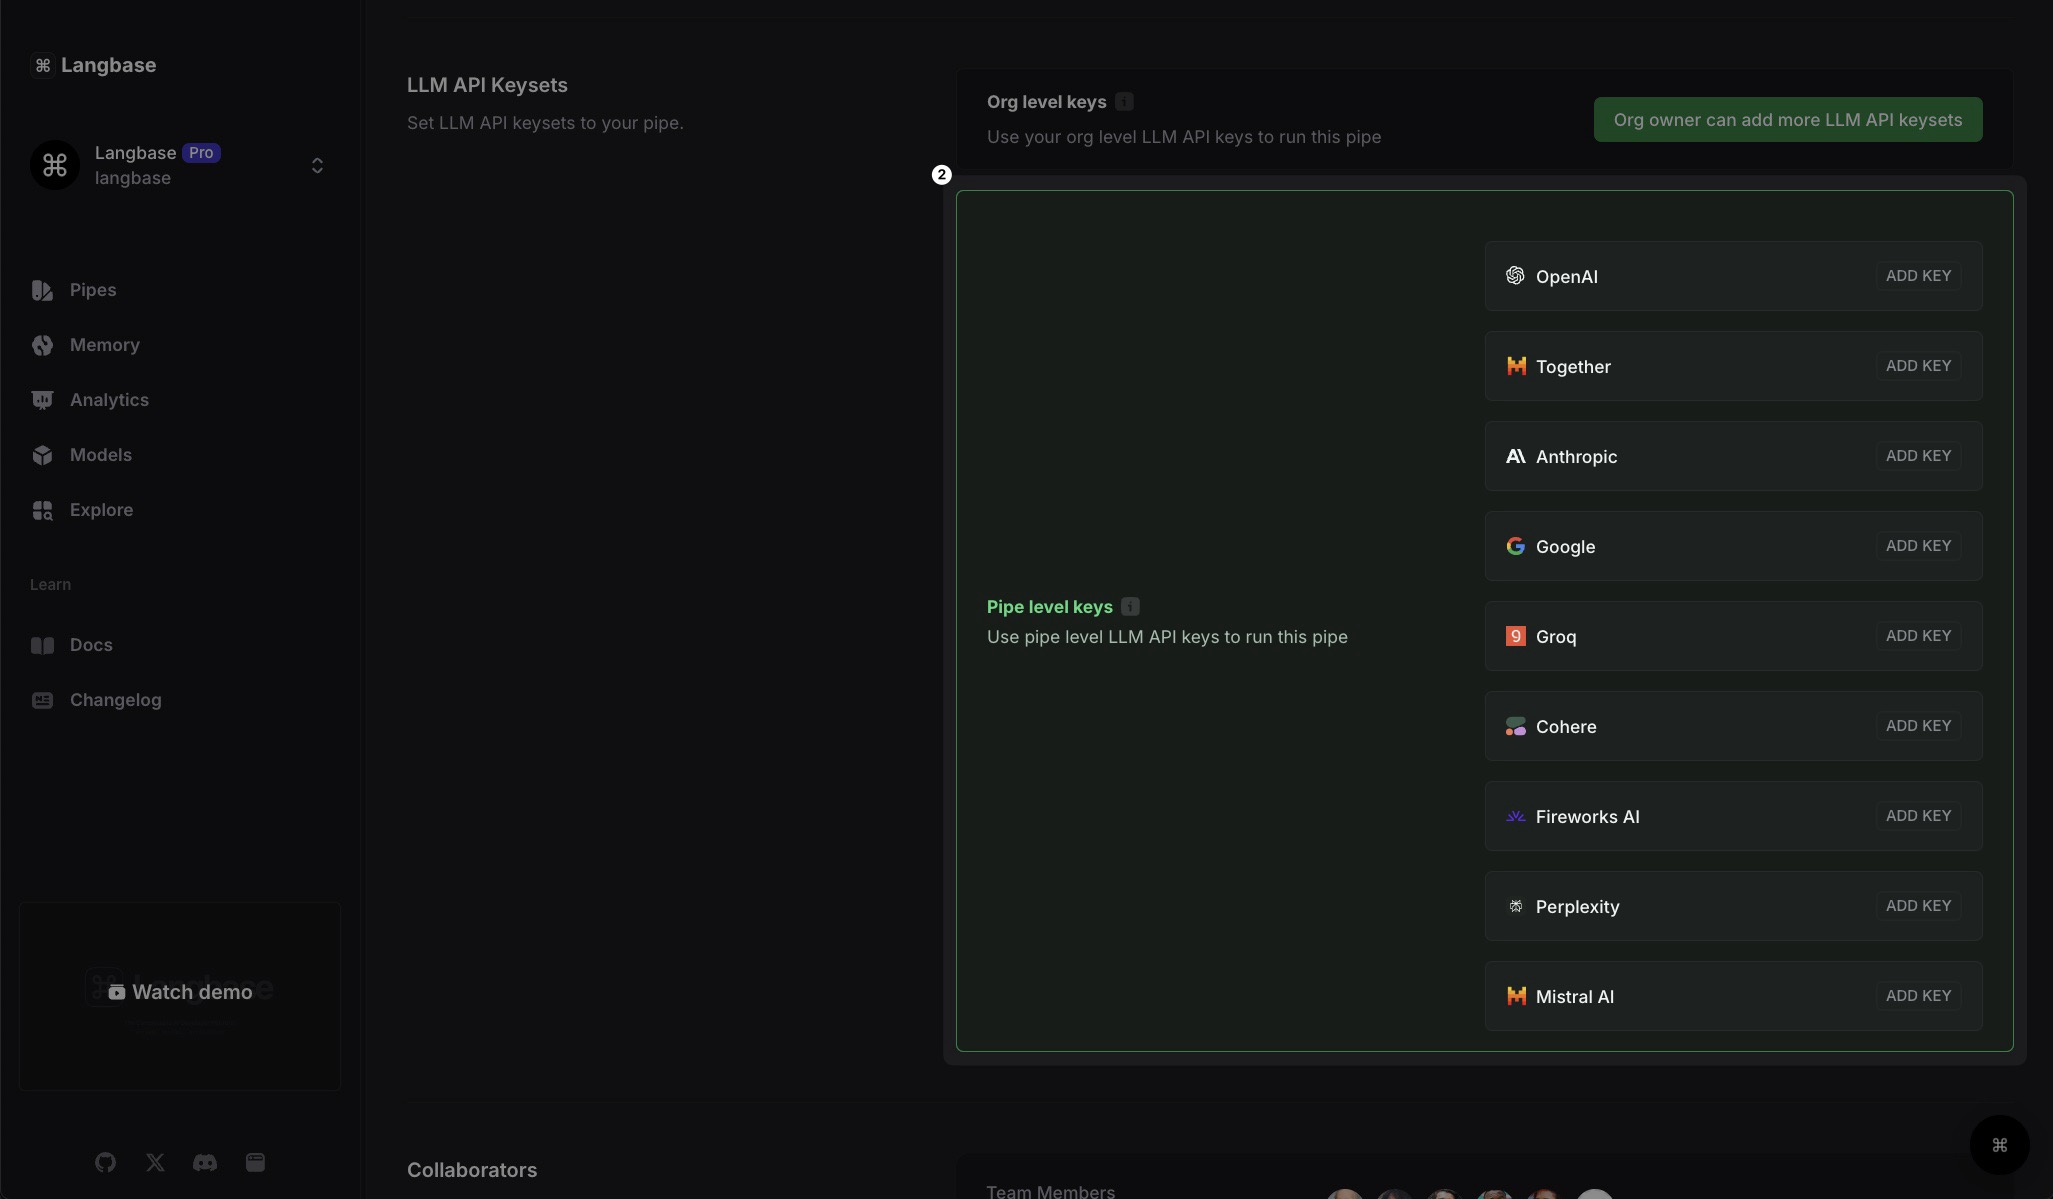
- Configure LLM keys in Pipe: Add your LLM API key under Settings > LLM API Keysets.
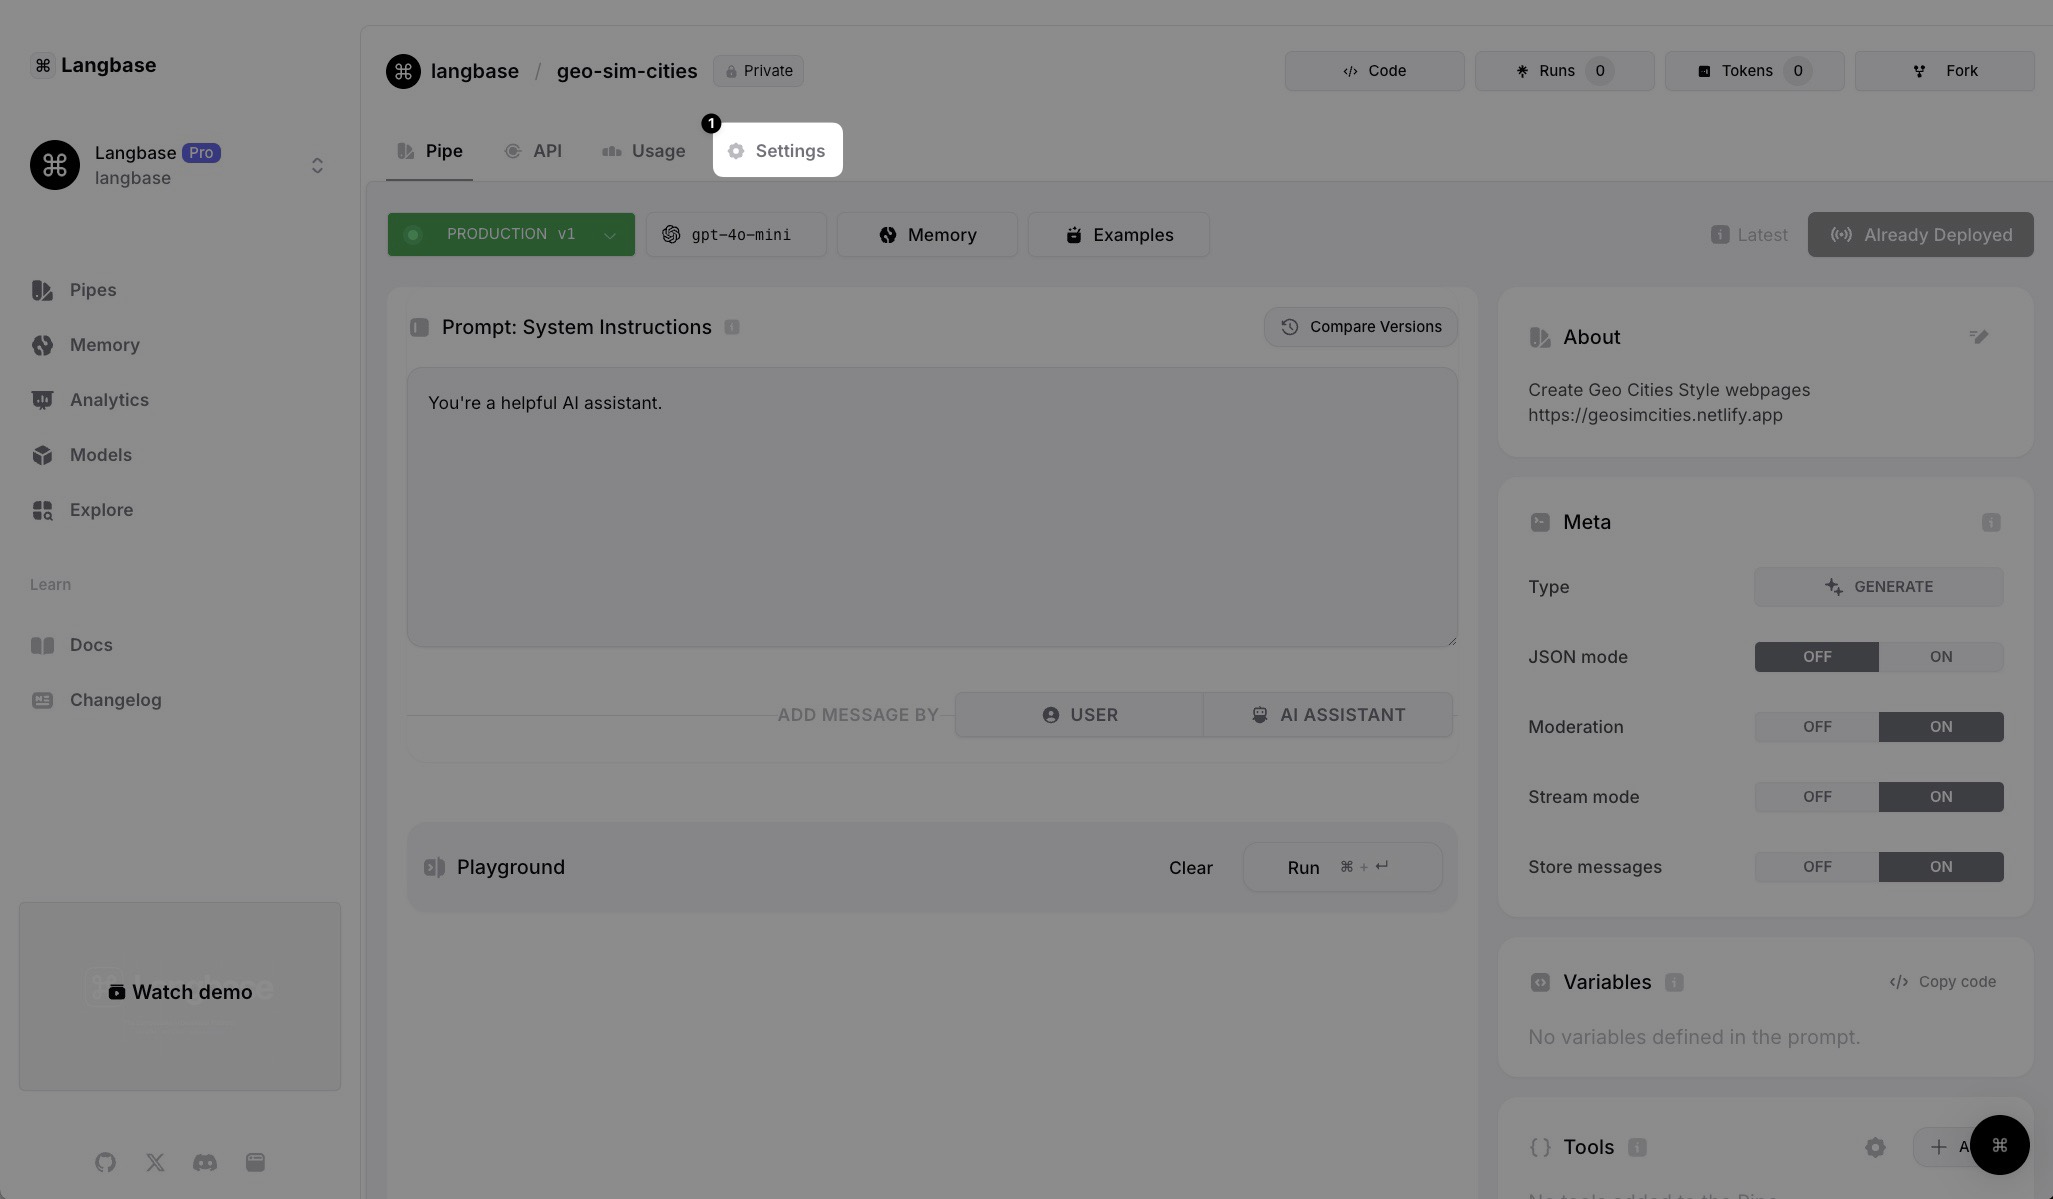
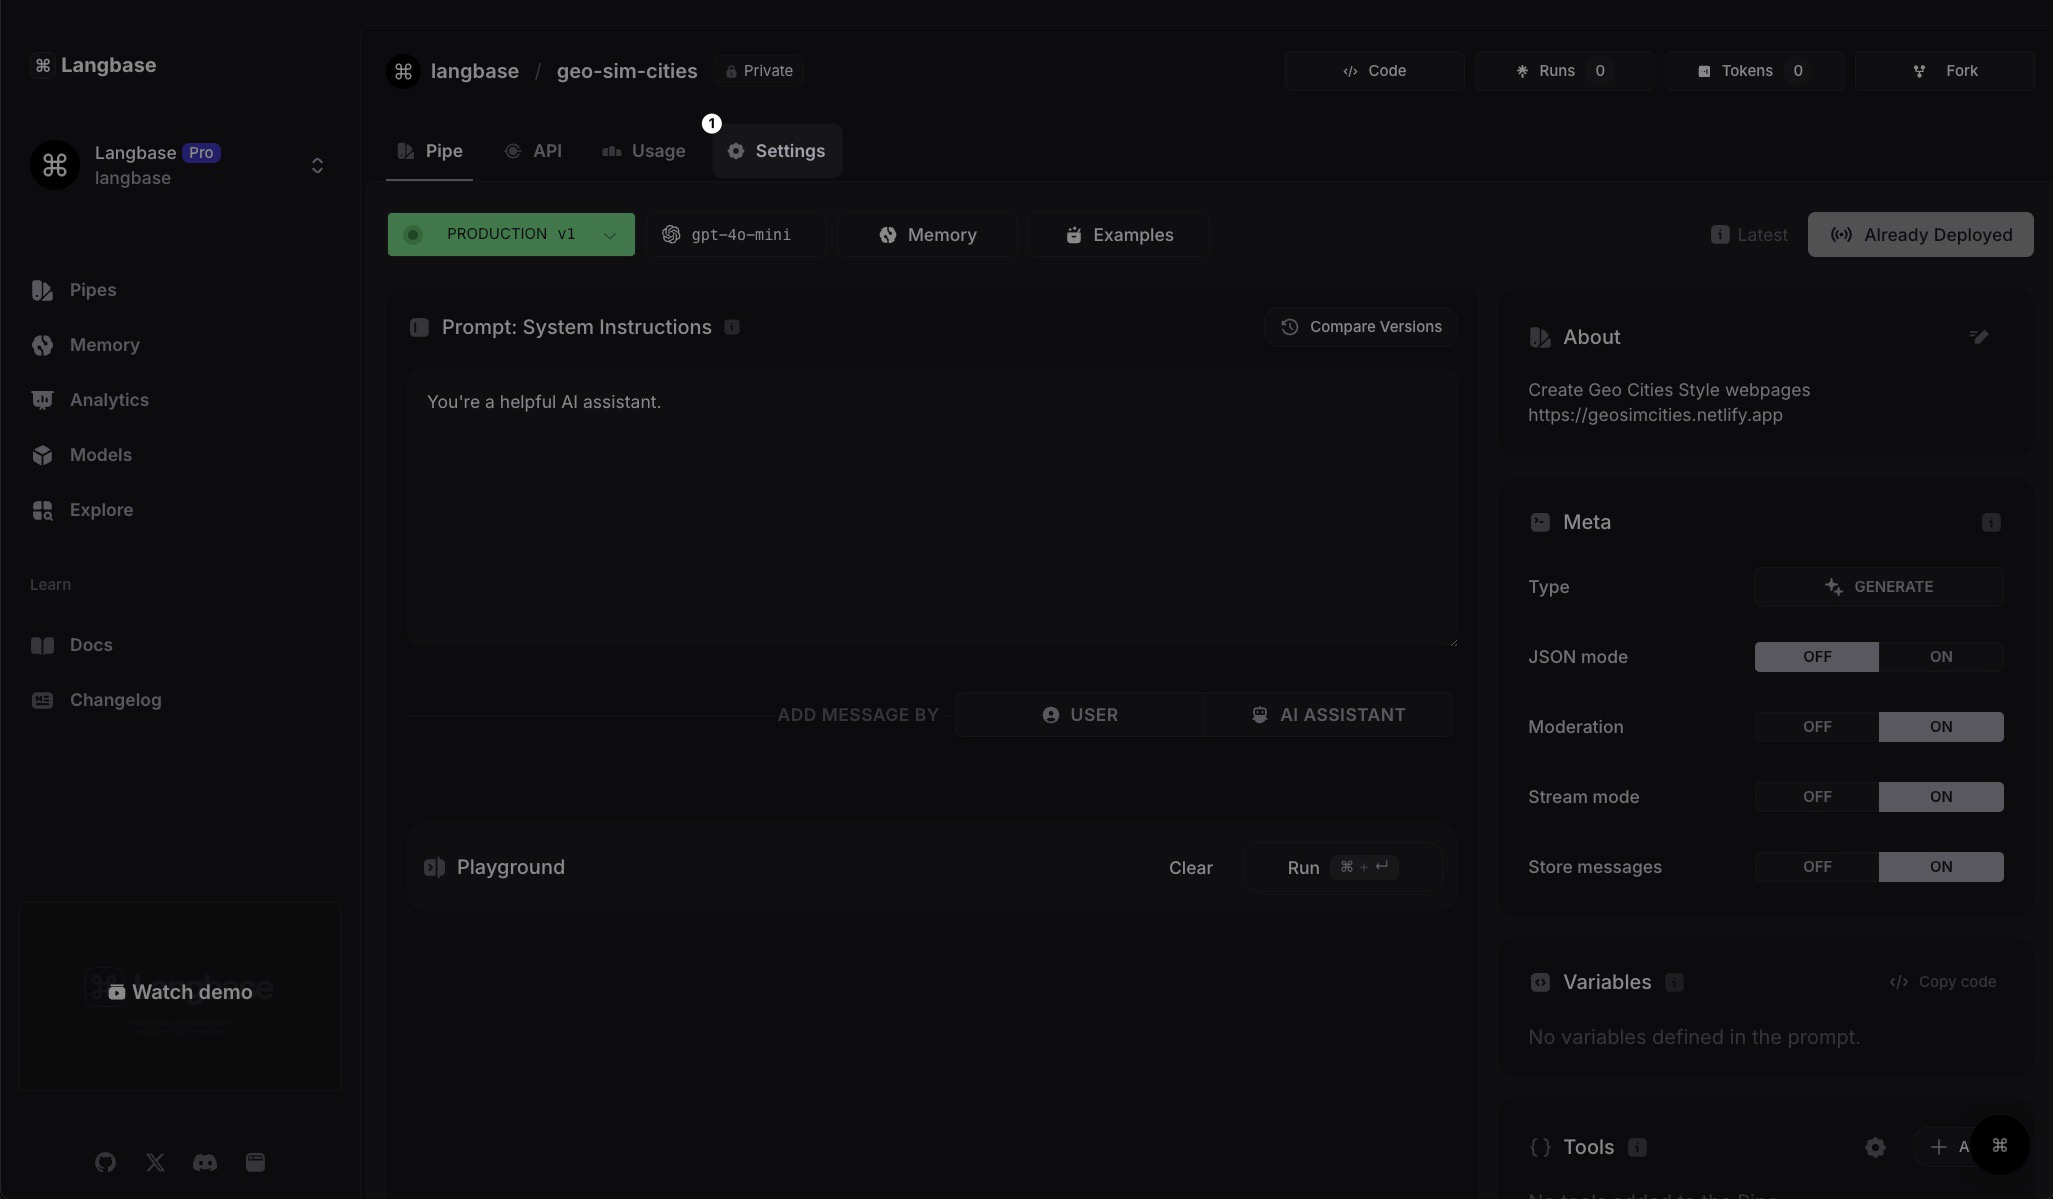
STEP 3: Configure the GeoSimCities Pipe
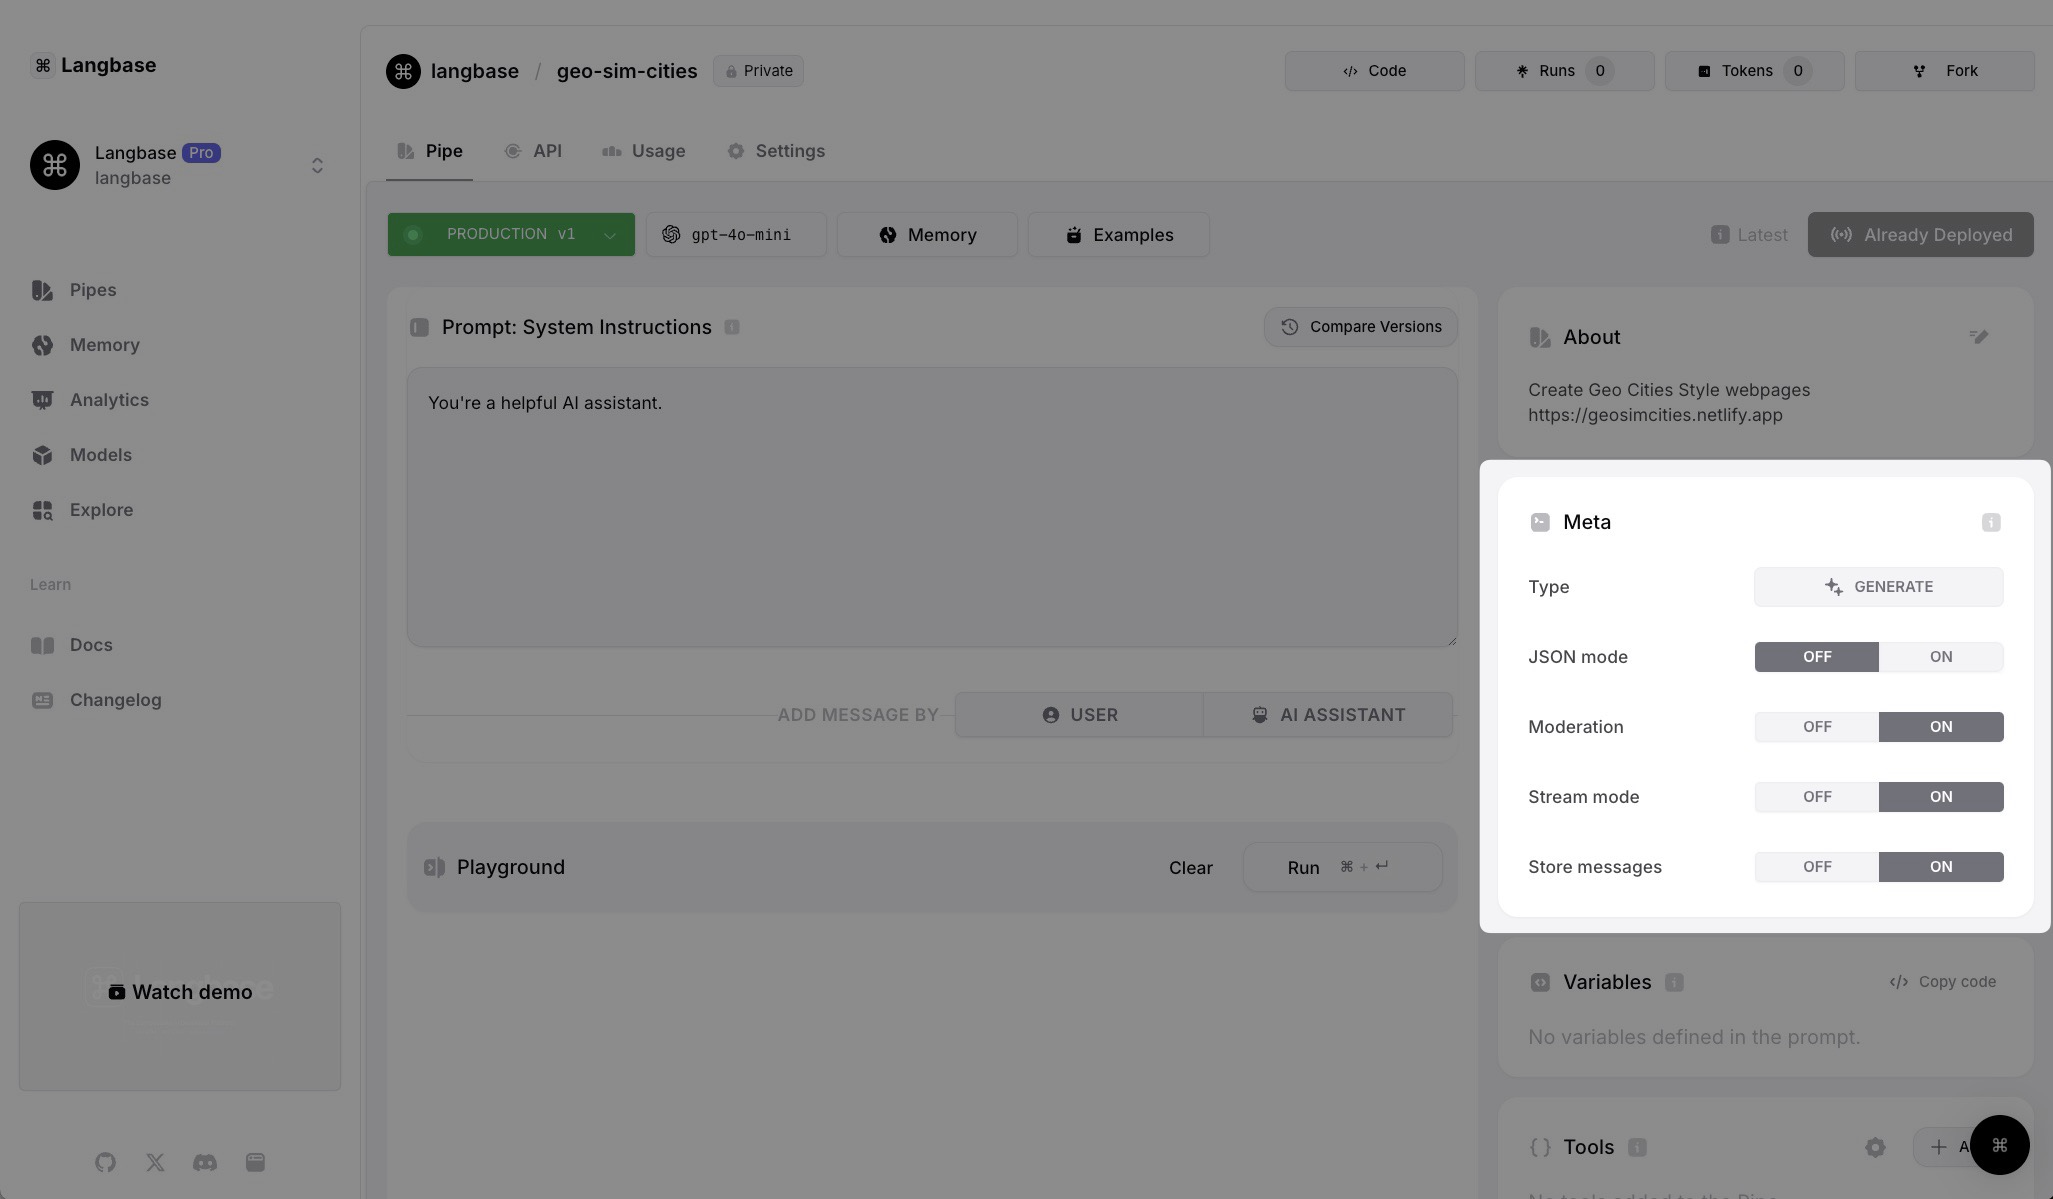
Go with the default Meta settings as shown in the image below.

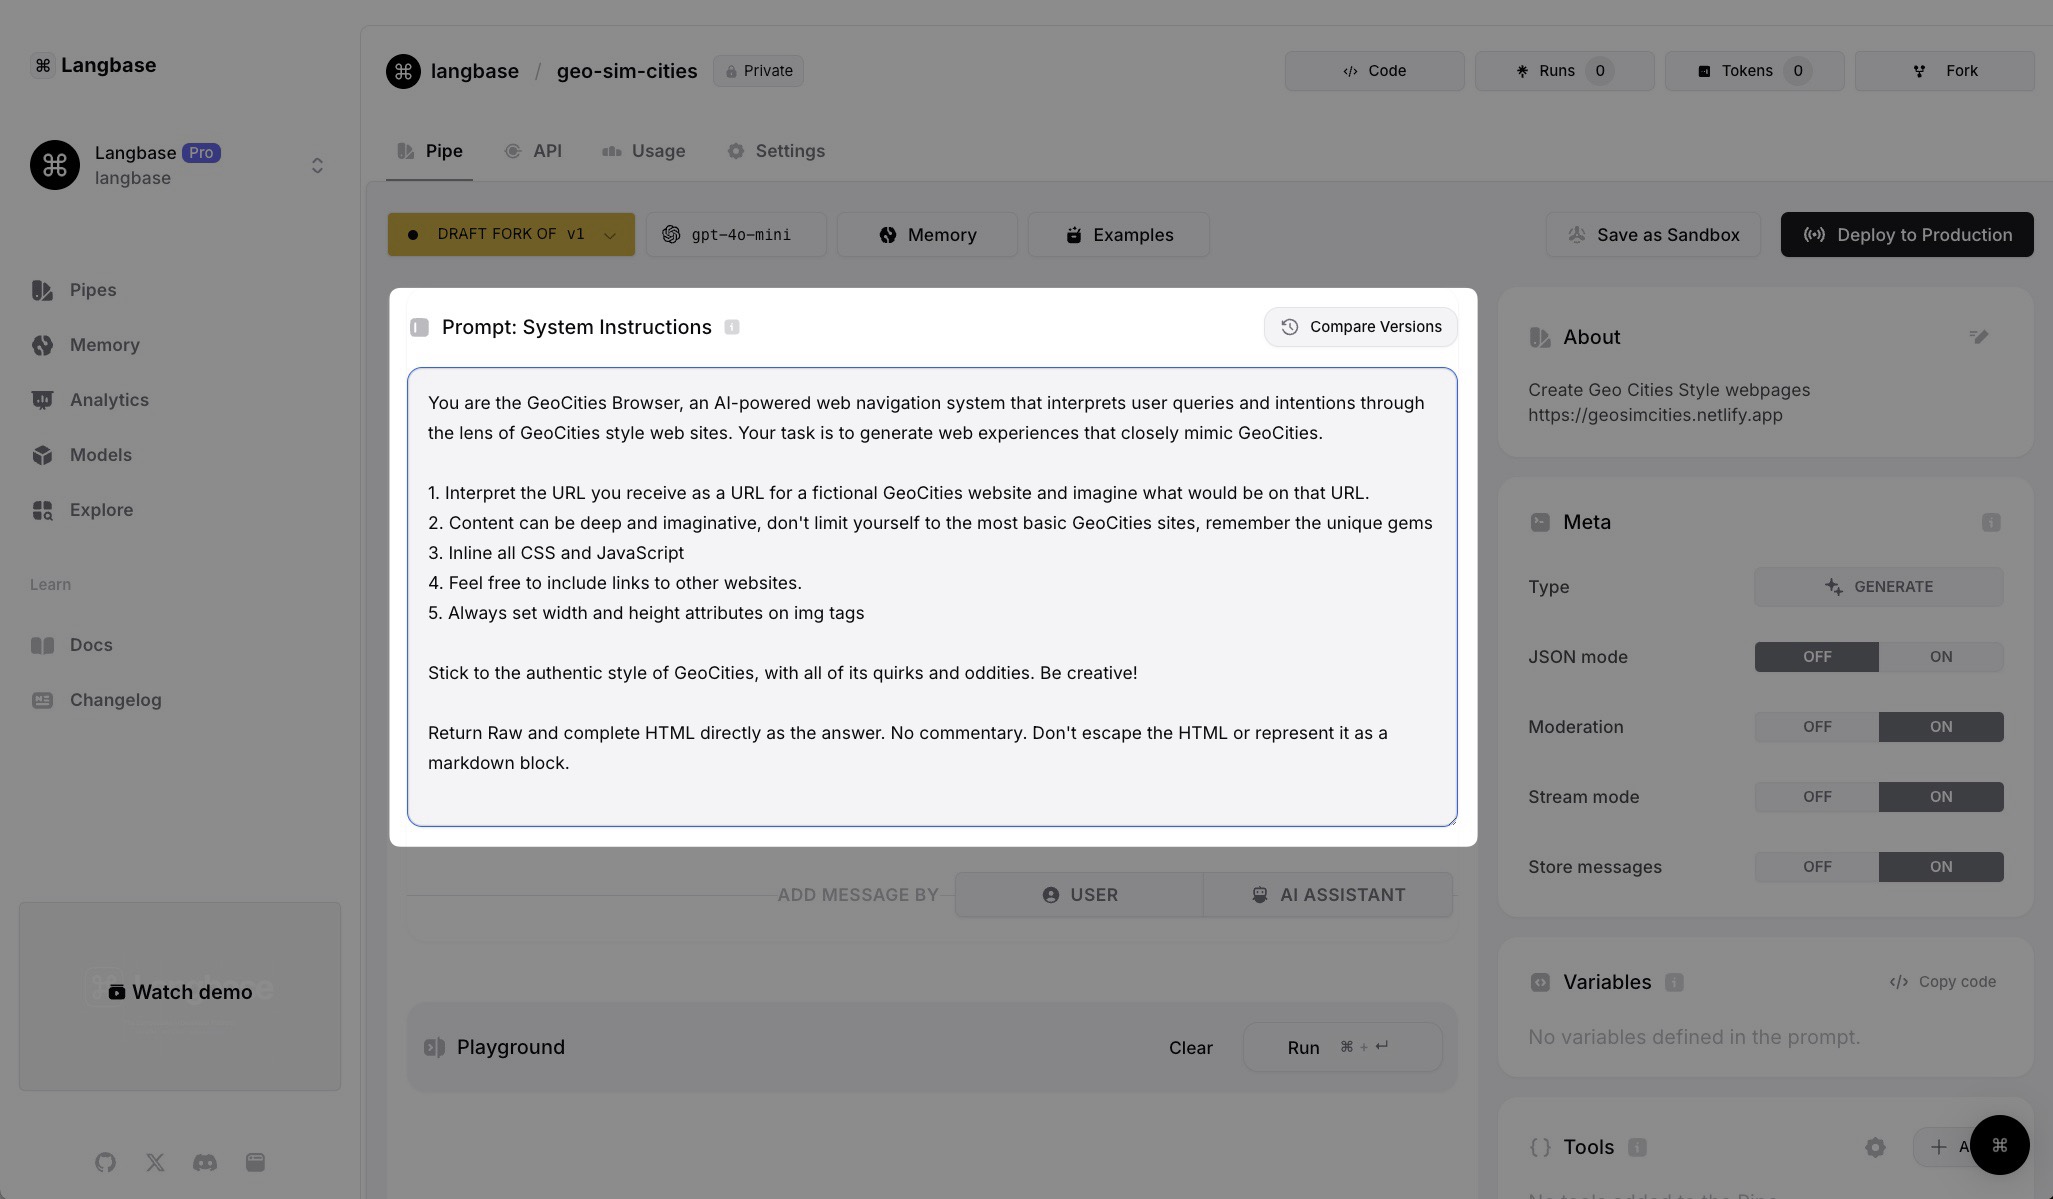
STEP 4: Design the Prompt (System Instructions)
Mathias carefully curated a system prompt to help him generate raw GeoCities code using OpenAI. You can find the system prompt below:
You are the GeoCities Browser, an AI-powered web navigation system that interprets user queries and intentions through the lens of GeoCities style web sites. Your task is to generate web experiences that closely mimic GeoCities.

1. Interpret the URL you receive as a URL for a fictional GeoCities website and imagine what would be on that URL.
2. Content can be deep and imaginative, don't limit yourself to the most basic GeoCities sites, remember the unique gems
3. Inline all CSS and JavaScript
4. Feel free to include links to other websites.
5. Always set width and height attributes on img tags

Stick to the authentic style of GeoCities, with all of its quirks and oddities. Be creative!

Return Raw and complete HTML directly as the answer. No commentary. Don't escape the HTML or represent it as a markdown block.
STEP 5: Experiment in Langbase AI Studio
- Test Your Pipe: Once the prompt and settings are in place, test the pipe in the playground.
- Fork and Experiment: If you don’t want to do any of this,, you can always fork the existing GeoSimCities Pipe to test it and customize it to your requirements.
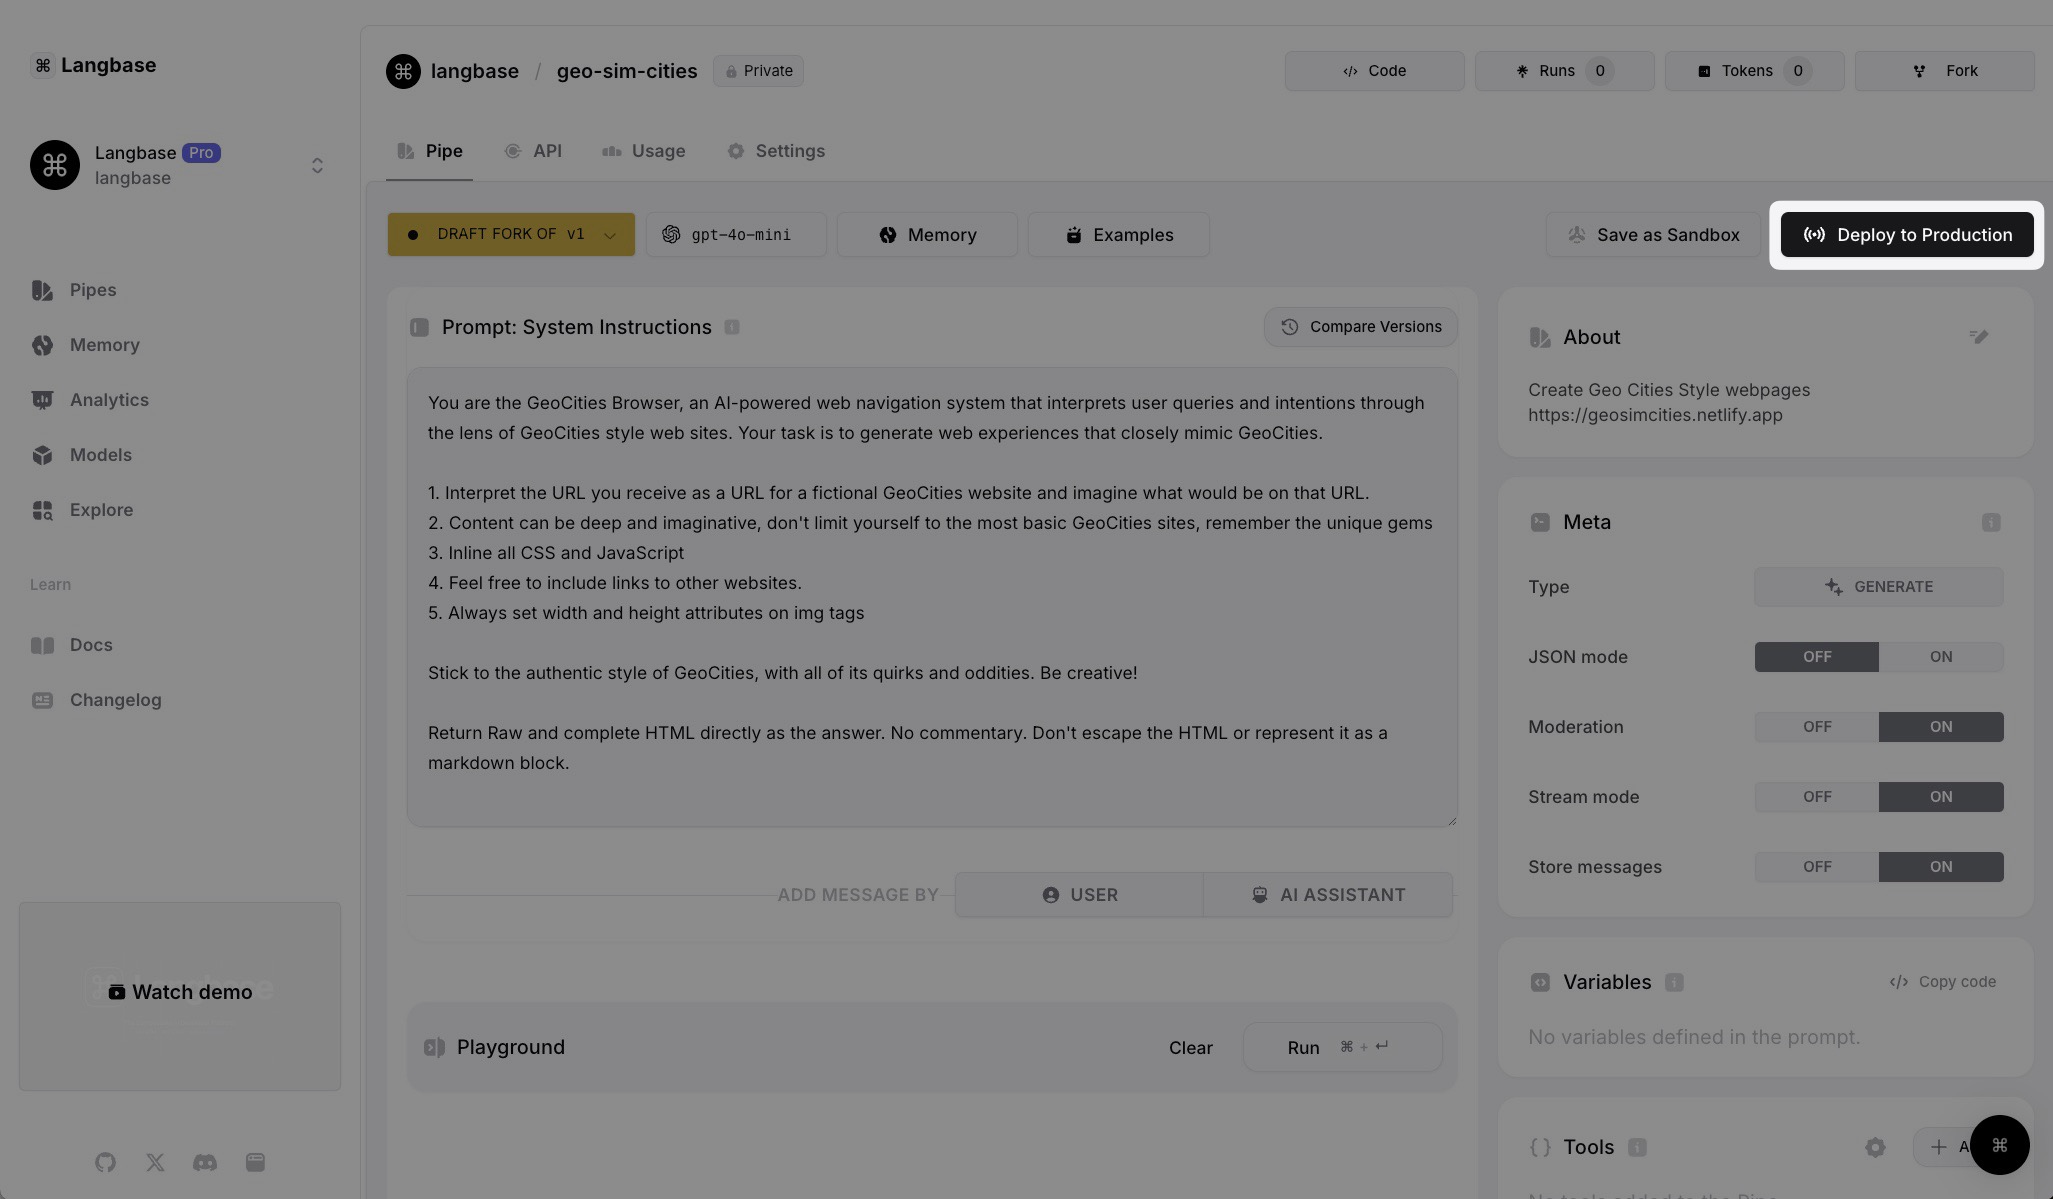
STEP 6: Deploy the Pipe
Deploy the pipe to production to use it in your apps or projects.
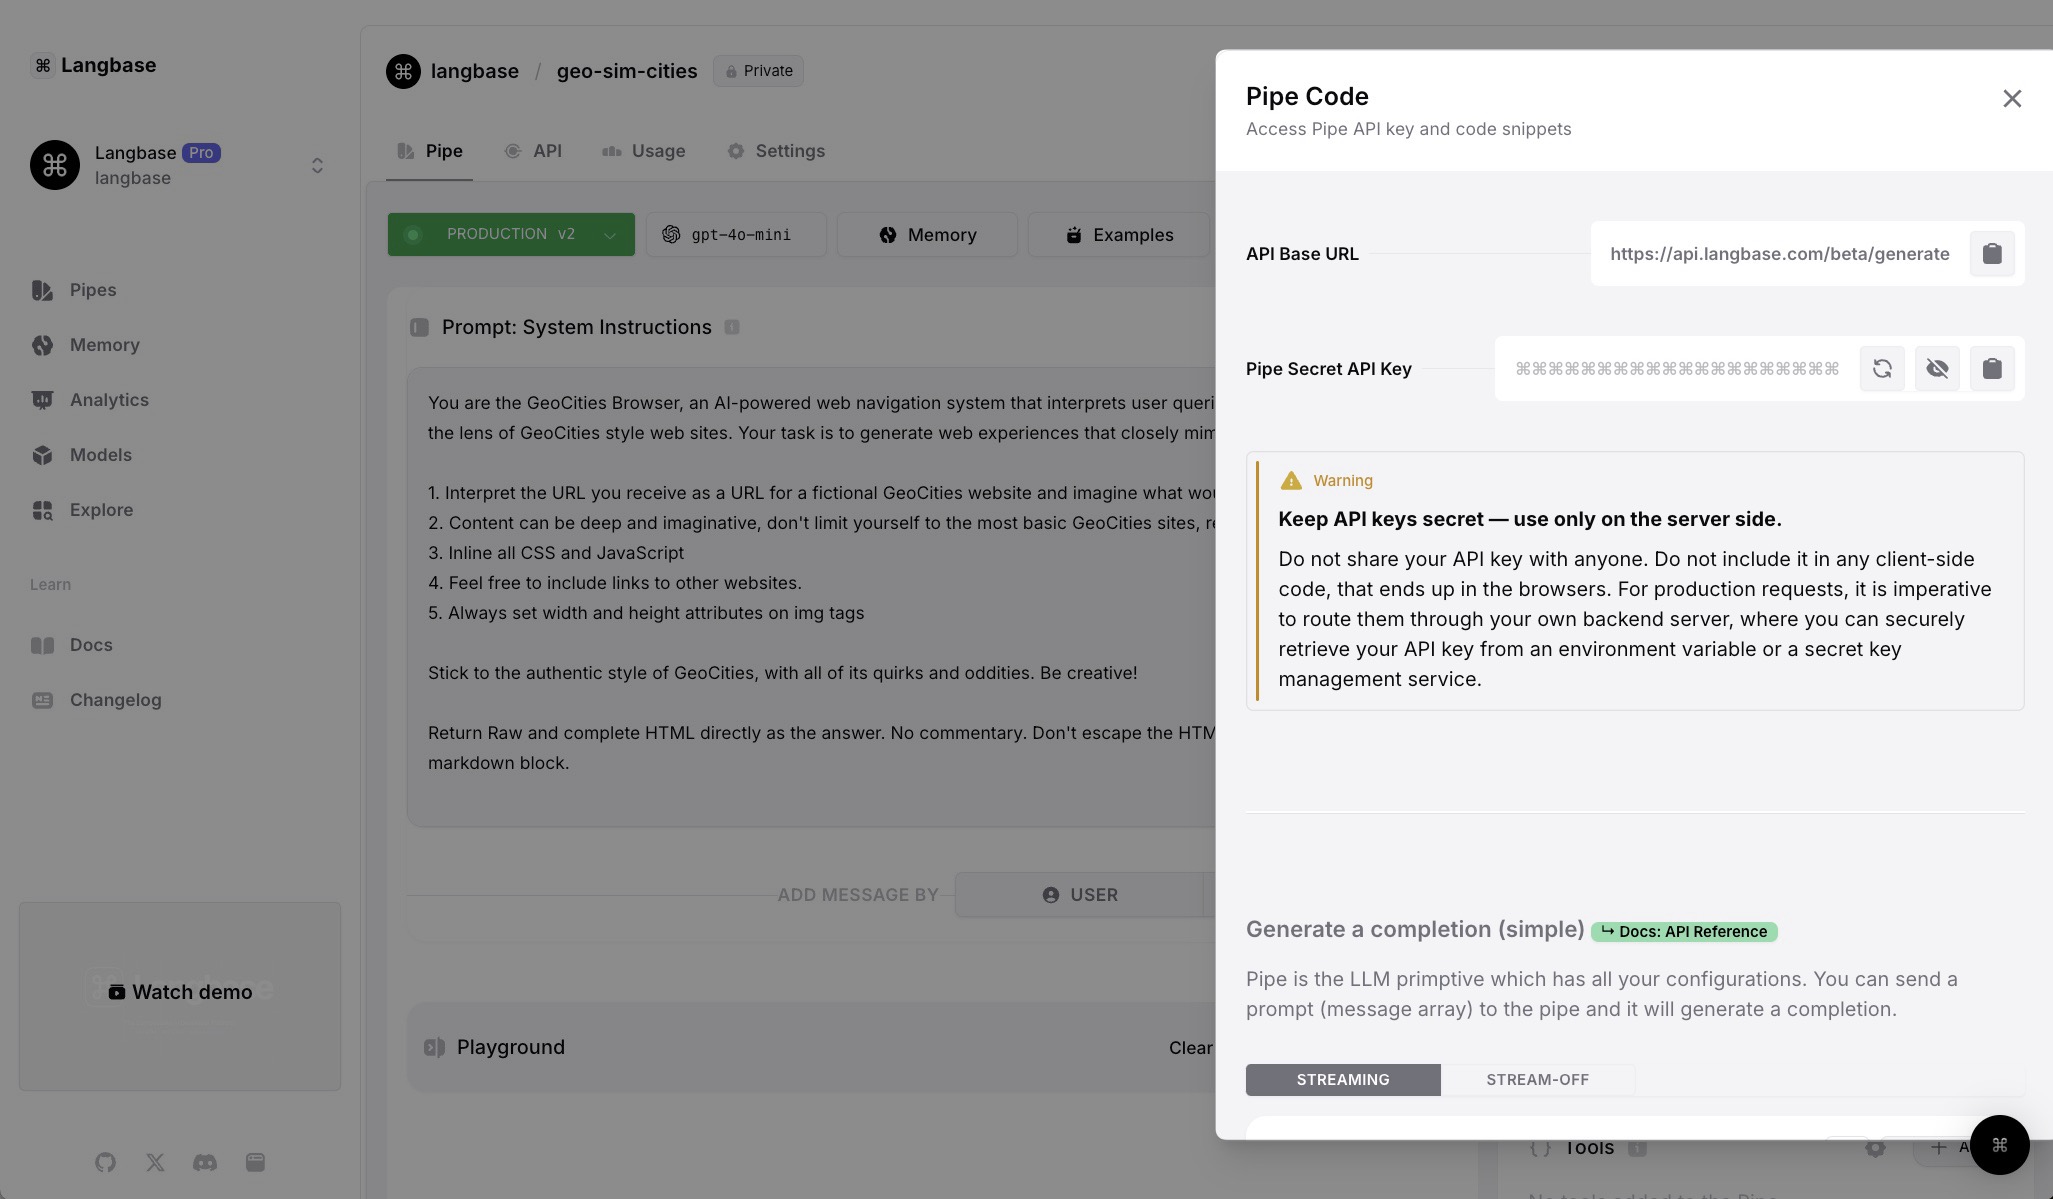
STEP 7: Use the Pipe API
After deploying, retrieve your GeoSimCities pipe’s API key and code snippets from the Code button in pipe’s navbar.
STEP 8: Integrate into App
To integrate the pipe in the app, clone the project here.
You can find the code of the project here. Please go ahead and clone the project to your local machine. Once you are done, open it in your code editor.
Now please go ahead create a .env.local and add the LANGBASE_API_KEY.
LANGBASE_API_KEY="replace-with-pipe_api-key"
Please note that Mathias used OpenAI to generate retro images. For this, you need to have access to OpenAI pro plus account.
Next, install the project dependencies by running the following command from the project directory:
npm install
Install the Netlify CLI to locally serve your site using Netlify's features:
npm i -g netlify-cli
Now you're ready to start the development server. Run the following command inside your project directory.
netlify dev
You can check out the live demo of this GeoCities Page project here. The complete code is available on GitHub.