What is a Pipe? (AI Agent)
AI Agents can understand context and take meaningful actions. They can be used to automate tasks, research and analyze information, or help users with their queries.
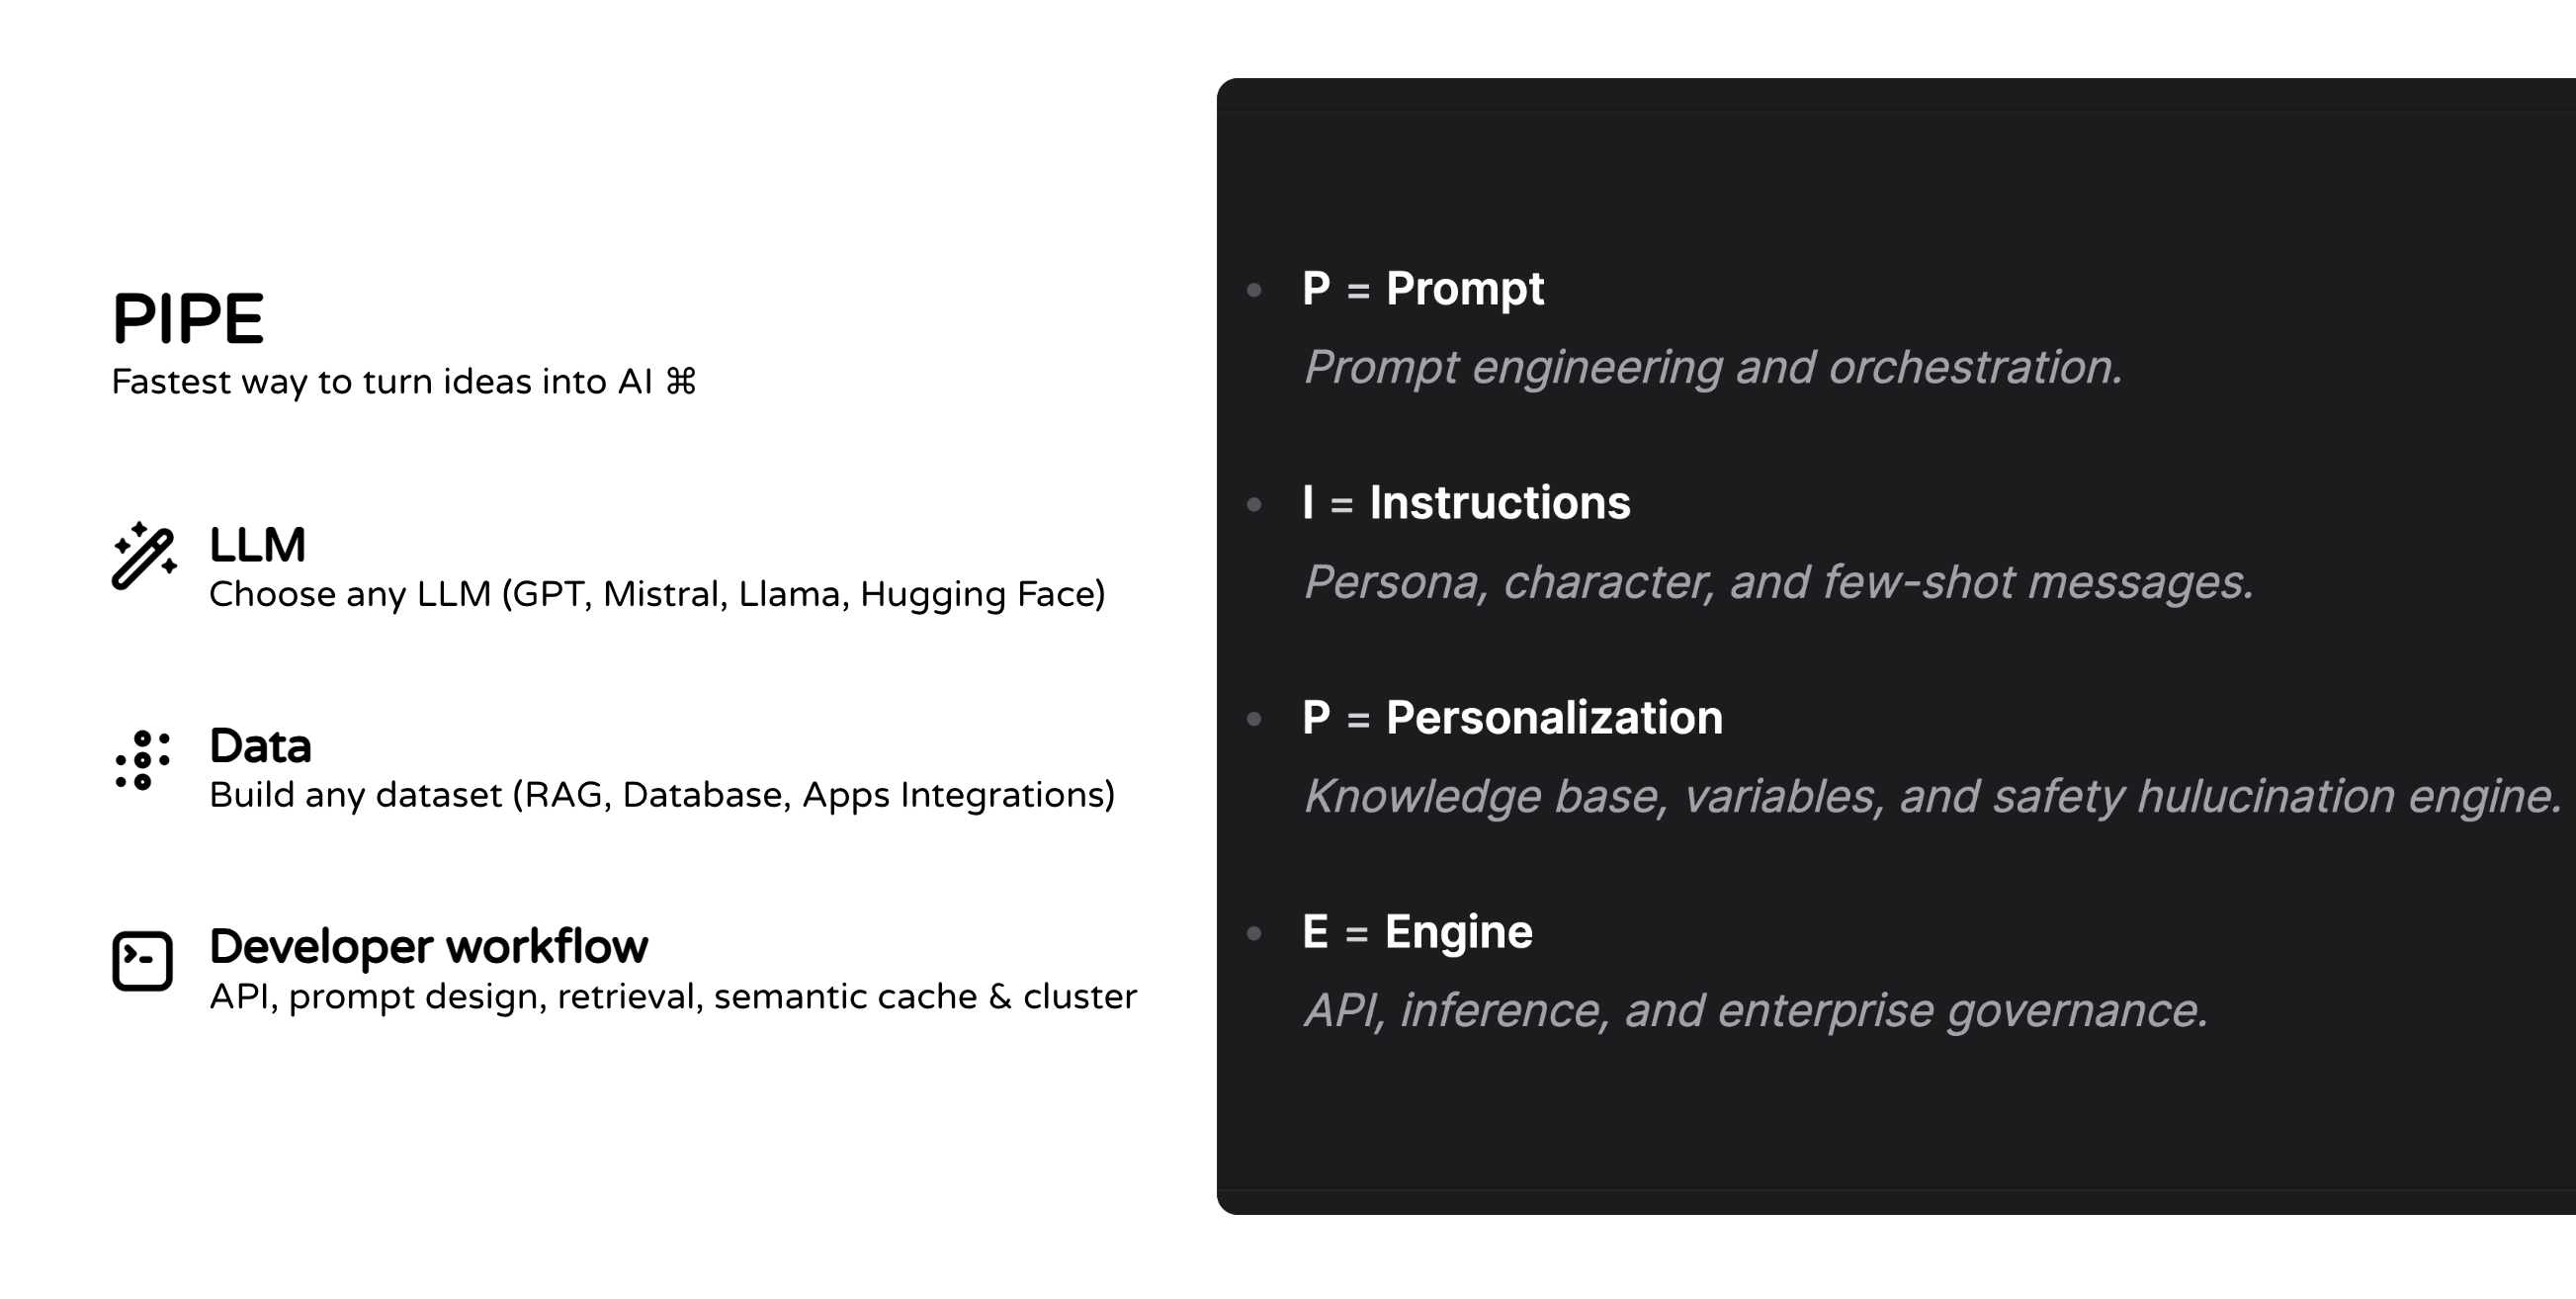
Pipe is an AI agent available as a serverless API. You write the logic, Langbase handles the logistics. It's the easiest way to build, deploy, and scale AI agents without having to manage or update any infrastructure.
Langbase Augmented LLM (Pipe Agent) is the fundamental component of an agentic system. It is a Large Language Model (LLM) enhanced with augmentations such as retrieval, tools, and memory. Our current models can actively utilize these capabilities—generating their own search queries, selecting appropriate tools, and determining what information to retain using memory.
Ever found yourself amazed by what ChatGPT can do and wished you could integrate similar AI features into your own apps? That's exactly what Pipe is designed for. It’s like ChatGPT, but simple (simplest API), powerful (works with 250+ LLM models), and developer-ready (comes with a suite of dev-friendly features available as an API).
Let's build your first AI pipe in a minute.
In this quickstart guide, you will:
- Create and use a Pipe agent on Langbase.
- Use an LLM model like GPT, Llama, Mistral, etc.
- Build your pipe agent with configuration and meta settings.
- Design a prompt with system, safety, and few-shot messages.
- Experiment with your AI pipe in playground (Langbase AI Studio).
- Observe real-time performance, usage, and per million request predictions.
- Deploy your AI features seamlessly using the Pipe API (global, highly available, and scalable).
There are two ways to follow this guide:
- Langbase SDK - TypeScript SDK to interact with Langbase APIs. (code)
- Langbase AI Studio - AI Studio to build, deploy, and collaborate on AI agents. (build)
Click on one of the buttons below to choose your preferred method.
Step #1
Every request you send to Langbase needs an API key. This guide assumes you already have one. In case, you do not have an API key, please check the instructions below.
Step #2
If you have set up LLM API keys in your profile, the Pipe will automatically use them. If not, navigate to LLM API keys page and add keys for different providers like OpenAI, TogetherAI, Anthropic, etc.
Step #3
Create a new directory for your project and navigate to it.
Project setup
mkdir ai-support-agent && cd ai-support-agent
Initialize the project
Create a new Node.js project.
Initialize project
npm init -y
Install dependencies
You will use the Langbase SDK to connect to the AI agent pipes and dotenv to manage environment variables. So, let's install these dependencies.
Install dependencies
npm i langbase dotenv
Create an env file
Create a .env file in the root of your project and add the following environment variables:
.env
LANGBASE_API_KEY=xxxxxxxxx
Replace xxxxxxxxx with your Langbase API key.
Step #4
Create a new file named create-pipe.ts and add the following code to create a new pipe agent using Langbase Pipe create API:
create-pipe.ts
import 'dotenv/config';
import { Langbase } from 'langbase';

const langbase = new Langbase({
	apiKey: process.env.LANGBASE_API_KEY!,
});

async function main() {
	const supportAgent = await langbase.pipes.create({
		name: `ai-support-agent`,
		description: `An AI agent to support users with their queries.`,
		messages: [
			{
				role: `system`,
				content: `You're a helpful AI assistant.`,
			},
		],
	});

	console.log('Support agent:', supportAgent);
}

main();
Let's create the pipe agent by running the above file:
Create pipe
npx tsx create-pipe.ts
This will create a new pipe agent named ai-support-agent.
Step #5
Now that you have created the pipe agent, it's time to run it and generate completions.
Create a new file named run-pipe.ts and add the following code to run the AI support agent:
run-pipe.ts
import 'dotenv/config';
import { Langbase, getRunner } from 'langbase';

const langbase = new Langbase({
	apiKey: process.env.LANGBASE_API_KEY!,
});

async function main() {
	const { stream } = await langbase.pipes.run({
		name: `ai-support-agent`,
		stream: true,
		messages: [
			{
				role: `user`,
				content: `Hello`,
			},
		],
	});

	const runner = getRunner(stream);
	runner.on('content', content => {
		process.stdout.write(content);
	});
}

main();
You are using the stream option to get real-time completions from the AI model. Now let's run the above file to see the AI generate completions for the user message:
npx tsx run-pipe.ts
You should see a sample AI response:
LLM generation
How can I assist you today?
Step #6
Now that you have written the basic code it's time to design your prompt.
What is a Prompt?
Prompt is the input you provide to the AI model to generate the output.
Typically, a prompt starts a chat thread with a system message, then alternates between user and assistant messages. Prompt design is important. At Langbase, we have a few key components to help you design a prompt:
Prompt: System Instructions
A system message in prompt acts as the set of instructions for the AI model.
- It sets the initial context and helps the model understand your intent.
- Now let's add a system instruction message. You can add this:
You're a helpful AI assistant. You will assist users with their queries about {{company}}. Always ensure that you provide accurate and to the point information.
Let's create a new file named update-pipe.ts and add the following code to update the pipe agent with the system instruction message:
update-pipe.ts
import 'dotenv/config';
import { Langbase } from 'langbase';

const langbase = new Langbase({
	apiKey: process.env.LANGBASE_API_KEY!,
});

async function main() {
	const supportAgent = await langbase.pipes.update({
		name: `ai-support-agent`,
		description: `An AI agent to support users with their queries.`,
		messages: [
			{
				role: `system`,
				content: `You're a helpful AI assistant.
				You will assist users with their queries about {{company}}.
				Always ensure that you provide accurate and to the point information.`,
			},
		],
	});

	console.log('Support agent:', supportAgent);
}

main();
Prompt: User Message
- Now let's add a user message. You can create a new object in the
messagesarray withroleasuser. - You can add this:
How to request payment API?
update-pipe.ts
import 'dotenv/config';
import { Langbase } from 'langbase';

const langbase = new Langbase({
	apiKey: process.env.LANGBASE_API_KEY!,
});

async function main() {
	const supportAgent = await langbase.pipes.update({
		name: `ai-support-agent`,
		description: `An AI agent to support users with their queries.`,
		messages: [
			{
				role: `system`,
				content: `You're a helpful AI assistant.
				You will assist users with their queries about {{company}}.
				Always ensure that you provide accurate and to the point information.`,
			},
			{
				role: `user`,
				content: `How to request payment API?`,
			},
		],
	});

	console.log('Support agent:', supportAgent);
}

main();
Prompt: Variables
- Any text written between double curly brackets
{{}}becomes a variable. - Variable values are passed separately. Since you added a
{{company}}variable, you can pass its value asACME.
✨ Variables allow you to use the same pipe to generate completion based on different values.
create-pipe.ts
import 'dotenv/config';
import { Langbase } from 'langbase';

const langbase = new Langbase({
	apiKey: process.env.LANGBASE_API_KEY!,
});

async function main() {
	const supportAgent = await langbase.pipes.update({
		name: `ai-support-agent`,
		description: `An AI agent to support users with their queries.`,
		messages: [
			{
				role: `system`,
				content: `You're a helpful AI assistant.
				You will assist users with their queries about {{company}}.
				Always ensure that you provide accurate and to the point information.`,
			}
		],
		variables: {
			company: `ACME`,
		},
	});

	console.log('Support agent:', supportAgent);
}

main();
Now run the above file to update ai-support-agent using the following command:
npx tsx update-pipe.ts
Step #7
Let's run the AI support agent again with the a user message. Go ahead and update the run-pipe.ts file with the following code:
run-pipe.ts
import 'dotenv/config';
import { Langbase, getRunner } from 'langbase';

const langbase = new Langbase({
	apiKey: process.env.LANGBASE_API_KEY!,
});

async function main() {
	const { stream } = await langbase.pipes.run({
		name: `ai-support-agent`,
		stream: true,
		messages: [
			{
				role: `user`,
				content: `How to request payment API?`,
			},
		],
	});

	const runner = getRunner(stream);
	runner.on('content', content => {
		process.stdout.write(content);
	});
}

main();
npx tsx run-pipe.ts
You should see a sample AI response:
LLM generation
To request a payment API from ACME, you typically need to follow these steps:

1. **Create an Account**: Sign up for an account on the ACME platform if you haven't already.

2. **Access Developer Documentation**: Visit the ACME developer portal or documentation section. This is where you'll find detailed information about the payment API, including endpoints, authentication, and usage examples.

3. **API Key Generation**: Look for a section in the developer portal where you can generate an API key. This key is essential for authenticating your requests.

4. **Review API Specifications**: Familiarize yourself with the API specifications, including the required parameters, request methods (GET, POST, etc.), and response formats.

5. **Make a Request**: Use your preferred programming language or tool (like Postman, cURL, etc.) to make API requests. Ensure you include your API key in the request headers.

6. **Test in Sandbox**: If available, use the sandbox environment to test your integration before going live.

7. **Contact Support**: If you have any specific questions or need assistance, contact ACME's support team through their support channels.

Make sure to follow any specific guidelines or requirements outlined in the ACME API documentation.
✨ Congrats, you have created your first AI pipe. We're excited to see what you build with it.
Feel free to experiment with different LLM models, prompts, and configurations.
- Next up, use the API Reference to learn more about pipe's API.
- You can also check out 20+ pipe features from the left sidebar.
- Join our Discord community for feedback, requests, and support.
Share your feedback and suggestions with us. Post on 𝕏 (Twitter), LinkedIn, or email us.
We're here to help you turn your ideas into AI.
Let's go!